Running a local agent
Local agents are a good way to experiment with Dagster+ before deploying a more scalable Hybrid agent like Kubernetes or Amazon ECS.
Local agents aren't well suited for most production use cases. If you're running the local agent in production, make sure that:
- You've set up a supervisor to automatically restart the agent process if it crashes
- You're alerted if the VM or container dies, or to automatically restart it
Prerequisites
To follow the steps in this guide, you'll need:
- Organization Admin permissions in your Dagster+ account
- To install the
dagster-cloudCLI in the same environment where the agent will run. We recommend using a Python virtual environment for your Dagster application code and its dependencies.
pip install dagster-cloud
Step 1: Generate a Dagster+ agent token
Your local agent will need a token to authenticate with your Dagster+ account. To generate an agent token:
- Click the user menu (your icon) > Organization Settings.
- In the Organization Settings page, click the Tokens tab.
- Click the + Create agent token button.
- After the token has been created, click Reveal token.
- Save this token as an environment variable on the machine where the local agent will run. You can choose any name for this environment variable, but
$DAGSTER_AGENT_TOKENwill be used in the rest of this guide. - Give the agent token a description to distinguish it from other tokens in the future.
Step 2: Configure the local agent
- Create a directory to act as your Dagster home. This guide uses
~/dagster_home, but the directory can be located wherever you want. - In the new directory, create a
dagster.yamlfile with the following:dagster.yamlinstance_class:
module: dagster_cloud.instance
class: DagsterCloudAgentInstance
dagster_cloud_api:
agent_token:
env: DAGSTER_AGENT_TOKEN
deployment: prod
user_code_launcher:
module: dagster_cloud.workspace.user_code_launcher
class: ProcessUserCodeLauncher - In the file, fill in the following:
agent_token.env- The name of the environment variable storing the agent token you created in Step 1.deployment- The name of the deployment associated with this instance of the agent. In the preceding example,prodwas used as the deployment.
- Save the file.
For more information about dagster.yaml configuration options, check out the dagster.yaml reference.
Alternative methods for setting the Dagster+ agent token
If you prefer not to specify the agent token by using an environment variable in dagster.yaml, pass it to the dagster-cloud agent run command:
dagster-cloud agent run ~/dagster_home/ --agent-token <AGENT_TOKEN>
Step 3: Run the Dagster+ agent
To start the Dagster+ agent, run the following command and pass the path to the dagster.yaml file you created in Step 2:
dagster-cloud agent run ~/dagster_home/
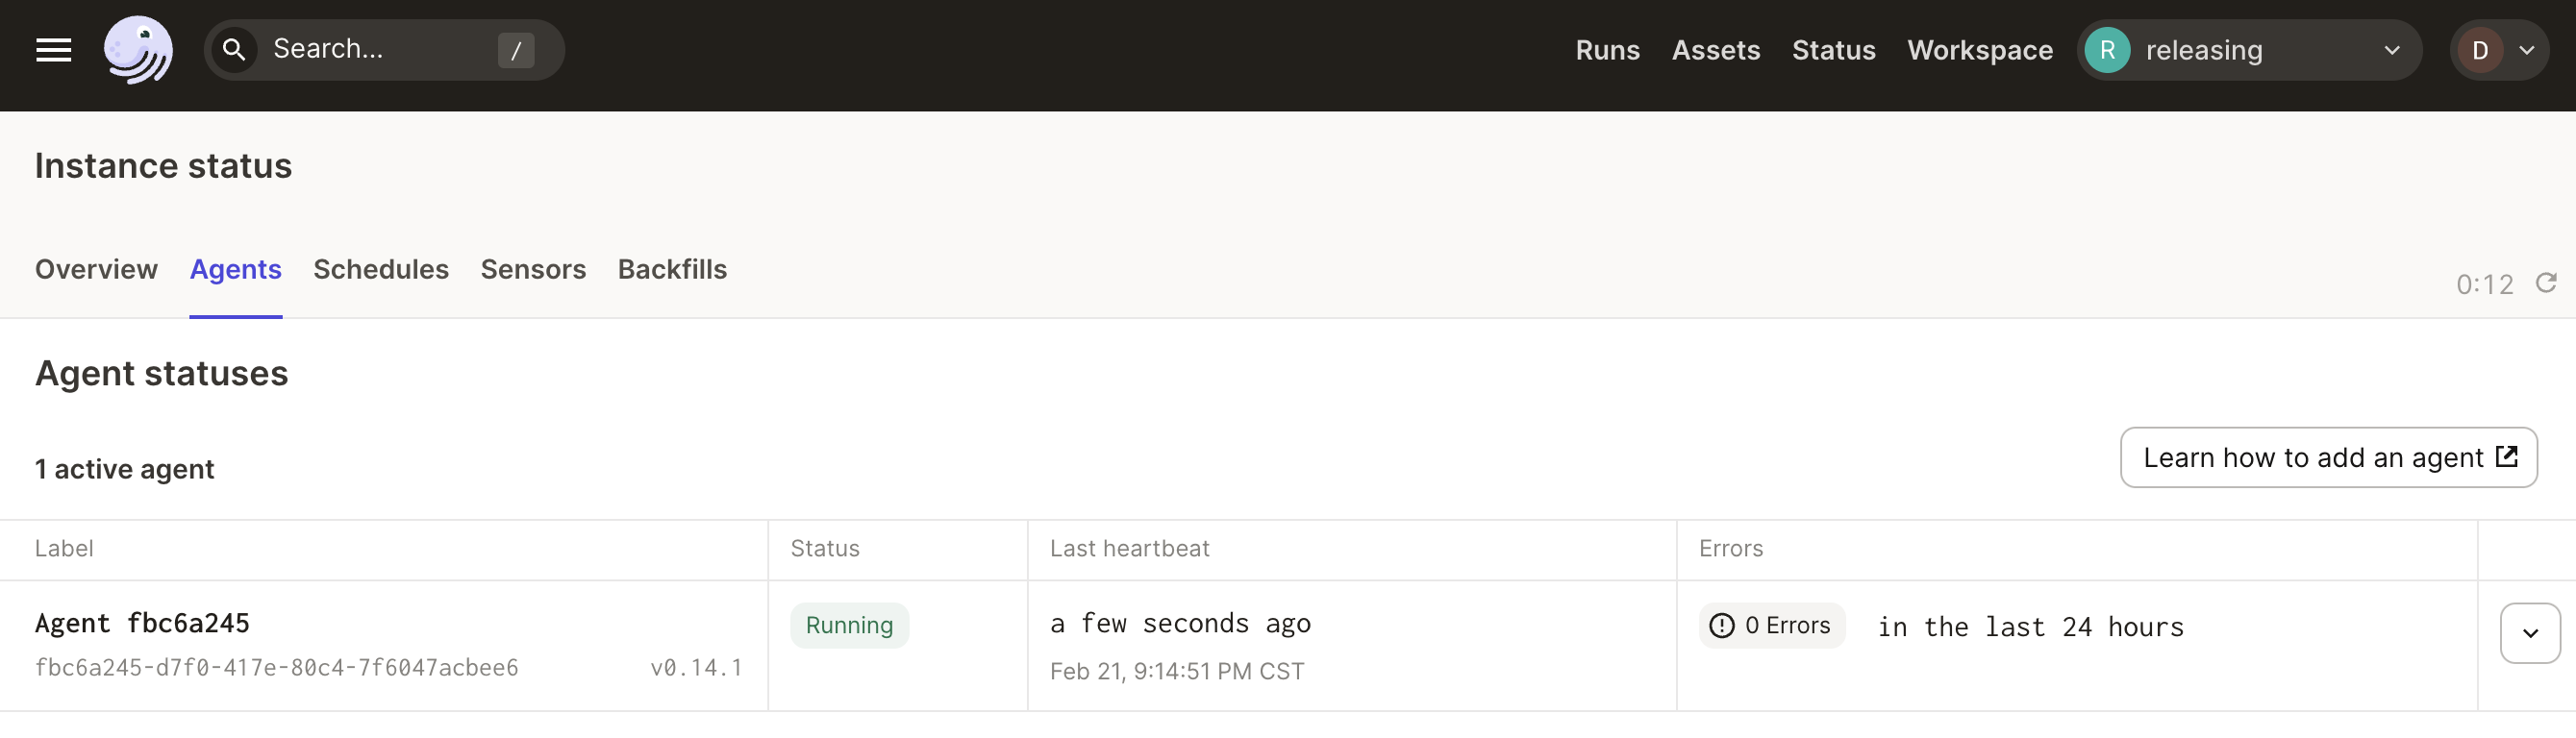
To view the agent in Dagster+, click the Dagster icon in the top left to navigate to the Deployment > Agents page. You should see the agent running in the Agent statuses section:
Next steps
- Add a code location to your Dagster+ deployment.